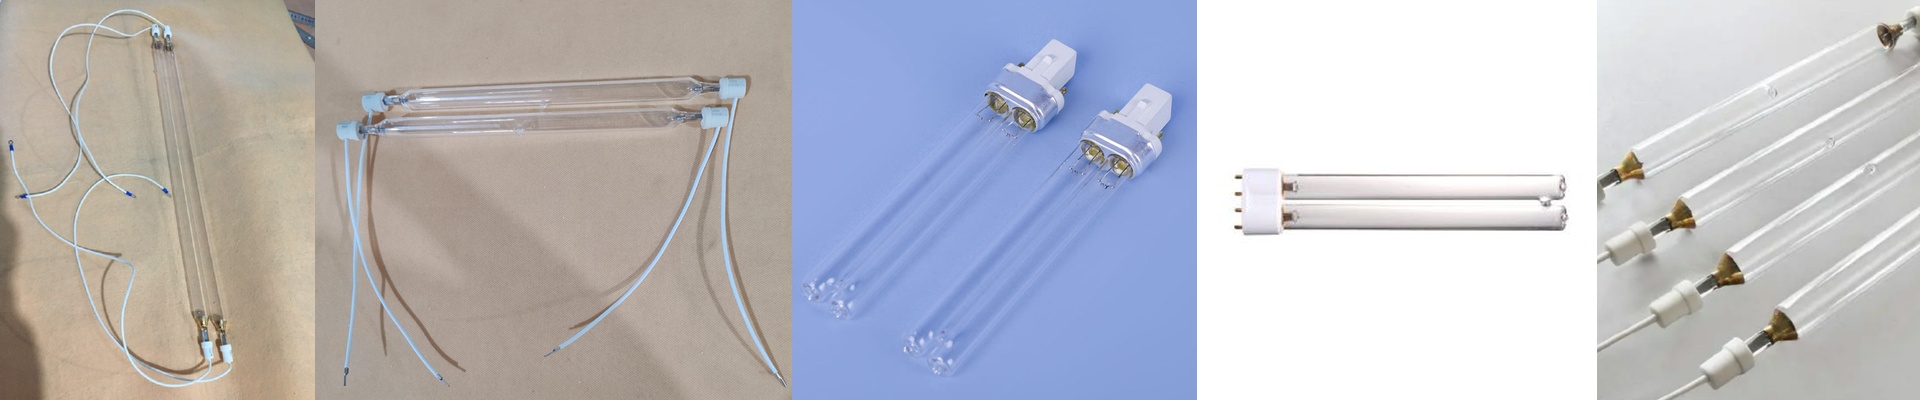
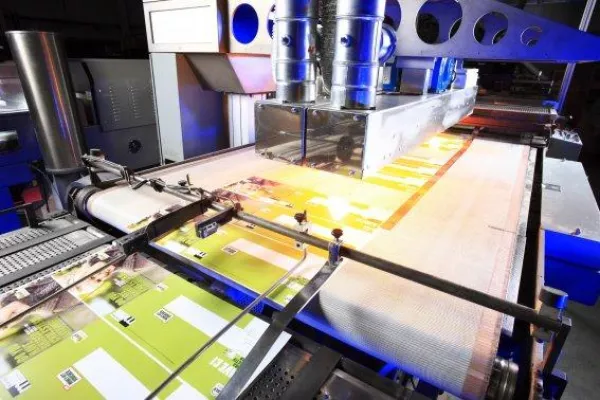
On the tile line, the conveyor hums along, the ink laydown is steady, and the stack of printed sheets waits for the one move that makes or breaks the finish: curing. Get the UV output profile wrong, and the print looks fine for a minute—then the surface stays tacky, colors go flat, and edge coverage falls apart the first time it gets handled. This isn’t just about “drying” ink. It’s about locking in color, building a vitreous-like top layer, and giving a surface that survives cutting, stacking, and installation without scuffing. The tool that does it is built for industrial ceramic tile decoration: a high-pressure mercury vapor lamp, tuned to the photoinitiators in the ink, matched to a reflector assembly and power control that hold irradiance steady at line speed. When the job calls for a gloss that reads like glaze and a film hardness that resists wear, spectral output, peak irradiance, and delivered energy density aren’t extras—they are the work.
What actually matters: spectrum, irradiance, and delivered energy
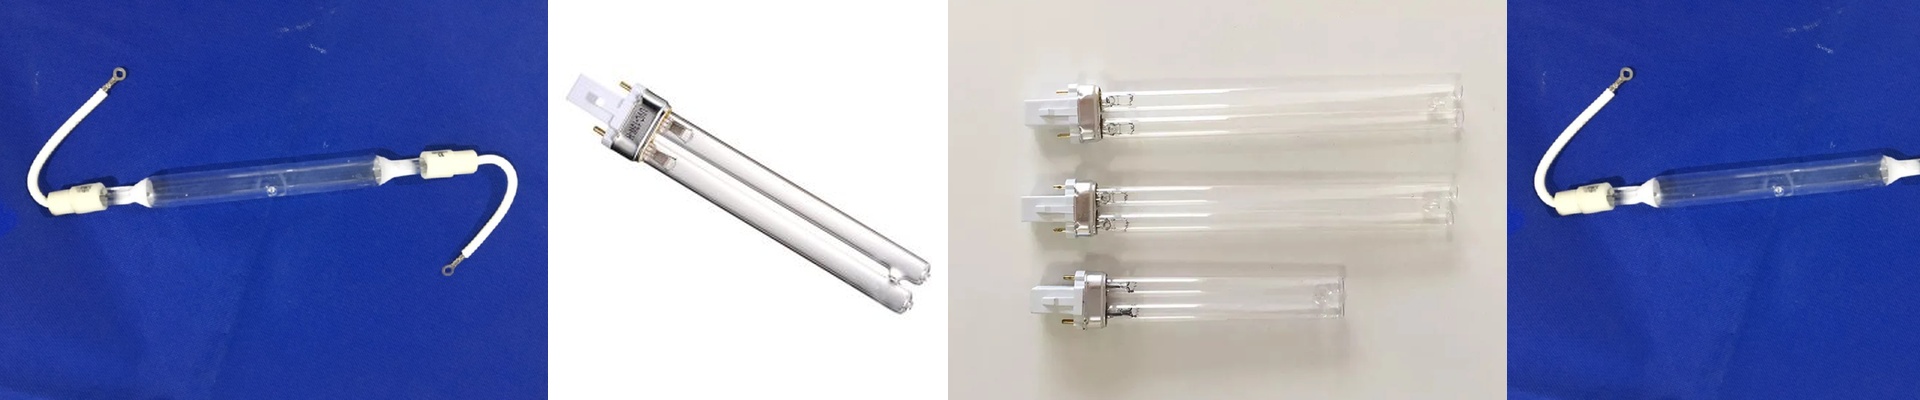
Decorative tile UV inks are built around photoinitiators that respond to specific wavelengths. A high-pressure mercury lamp throws strong output around 365 nm, with additional energy in the 313 nm and 395–405 nm bands, depending on arc length and doping. For most ceramic-decorating UV inks, the 365 nm line drives the surface cure, while the longer wavelengths help with through-cure in pigmented layers—so you get full cross-linking without resin staying under-cured near the substrate. We set the system to hit a target peak irradiance at the substrate plane—often 600–1200 mW/cm², depending on line speed and ink chemistry. Peak irradiance controls how fast the photoinitiator population breaks open and how quickly free radicals kick off polymerization. Too low, and the ink surface only partially converts, leaving a sticky skin. Too high without the right spectral balance, and the top cures instantly while uncured material gets trapped underneath—then you’re dealing with adhesion and intercoat issues. Total delivered energy density, in mJ/cm², is what turns peak irradiance into repeatable cure. Energy density is irradiance integrated over time, and it has to exceed the ink’s required dose for full conversion. On a typical tile decoration line, that dose is set by the ink supplier and confirmed in-process with a radiometer. We match lamp power density to that dose and your line speed. For example, if your process needs 400 mJ/cm² and the conveyor runs at 30 m/min, the lamp has to deliver enough irradiance to hit that dose within the dwell time under the UV zone. Power density isn’t just lamp wattage. It’s wattage delivered into the print window, shaped by reflector geometry and lamp-to-substrate distance. A tight reflector profile concentrates the UV onto the printed area, raising effective power density without cranking up input power. We specify lamp power in kW—6 kW, 8 kW, 12 kW—and then validate the resulting irradiance map at the substrate. Stability matters as much as output. The lamp has to hold steady over a production shift. That means controlling arc stability, electrode temperature, and voltage drop as the lamp warms. We use power supplies that hold lamp current consistent and compensate for mains variation, so irradiance doesn’t drift. That’s how you avoid the familiar headache of gloss changing from start-of-run to end-of-run. Lamp life is quoted in hours, but what you really care about is the output degradation curve. A well-made high-pressure mercury lamp holds output within a narrow band for most of its life, then falls off as mercury depletes and electrodes wear. We design for long life with stable spectral output—often 2000–3000 hours or more, depending on operating conditions—and we still recommend scheduled replacement based on measured irradiance, not just elapsed time.
Why it works on tile: from ink to a glaze-like finish
Tile decoration is a rough workflow: thick ink layers, heavy pigments, and a finish that has to look like glaze while taking handling abuse. UV curing turns liquid resin into a cross-linked solid film in seconds, and the lamp’s spectral output is matched to the photoinitiator package so both clear and pigmented layers cure without yellowing or staying tacky. When the lamp delivers the right energy density, the resin system fully converts. The result is a dense cross-link network. That network gives you hardness—pencil hardness, Taber wear resistance—and it makes the high-gloss look read like glaze. Without full conversion, the surface stays soft, and gloss collapses because micro-indentations scatter light. Line speed is the hard constraint. If you’re running 20–60 m/min, dwell time under the UV zone is short. The lamp has to make up for that with high peak irradiance so the ink hits full conversion in the time available. That’s why we focus on irradiance at the substrate, not just total lamp power. A reflector with high-purity dichroic coating reflects UV efficiently while letting heat pass through, which helps keep the lamp in its proper electrical and thermal operating window. The payoff is more UV delivered to the ink, less wasted heat, and a more consistent cure. In production, the difference is measurable. With stable irradiance and a matched ink system, gloss reads consistent tile to tile, scuffing drops during stacking, and rejects from incomplete cure at edges and thick zones fall off. Energy use goes down because UV is targeted into the print window instead of radiating sideways and upward. And because the lamp runs at a controlled thermal point, you avoid thermal shock and stress that can crack sensitive substrates or warp thin sheets.
What you need to get right: install, compatibility, and operating limits
UV curing isn’t plug-and-play, even when the lamp is built for industrial tile work. The lamp has to match the printer’s UV zone geometry, the substrate reflectance, and the ink’s dose requirement. Installation starts with alignment. The arc has to sit centered in the reflector and stay parallel to the substrate. Even a small misalignment changes the irradiance profile and can cause streaks or uneven gloss across the tile width. Lamp-to-substrate distance is set in the machine design; change it, and peak irradiance and dose change with it. If you adjust distance, re-validate the dose with a radiometer. Compatibility is both chemistry and hardware. The lamp’s spectral output has to match the photoinitiators in your ink. Switch ink suppliers, and you have to re-verify dose, line speed, and cure window. Also, the lamp’s electrical parameters have to match the ballast and igniter in your printer. I’ve seen plenty of lines where someone swaps the lamp without checking ballast compatibility, and you end up with an unstable arc, premature lamp failure, and output that never stops drifting. Thermal management is a real constraint. High-pressure mercury lamps throw off a lot of heat. The reflector and housing have to stay within temperature limits, and cooling airflow has to be sufficient. In high-humidity plants, condensation can form on the lamp envelope and reflector if temperatures dip below dew point—output drops, and electrical connections can get damaged. Keep the lamp and reflector above dew point with controlled airflow and housing design. Ozone is another practical issue. High-pressure mercury lamps produce ozone, mostly from short-wave UV output. In a tight machine enclosure, ozone can build up. We offer ozone-free or low-ozone lamp options by filtering the short-wave output, but that trades off some short-wave energy. If your ink formulation needs short-wave UV for full surface cure, you may need active exhaust to pull ozone out of the work area. And measurement discipline matters. A radiometer reading is the only way to confirm irradiance and dose. Calibrate the radiometer regularly, and log readings at start-up, mid-run, and end-of-run. Replace lamps based on measured degradation, not just hours. That practice prevents the slow drift in gloss and hardness that creeps into production when output falls below the threshold needed for full conversion. When the lamp, power supply, reflector, and ink are aligned, curing stops being a bottleneck and becomes the quality engine it should be. You set the line speed, validate the dose, and run knowing the surface will hold the gloss, hardness, and color depth the design demands.